SOP format comparison - Oct 24, 2026
Screenshot SOPs vs text-only instructions: what to include
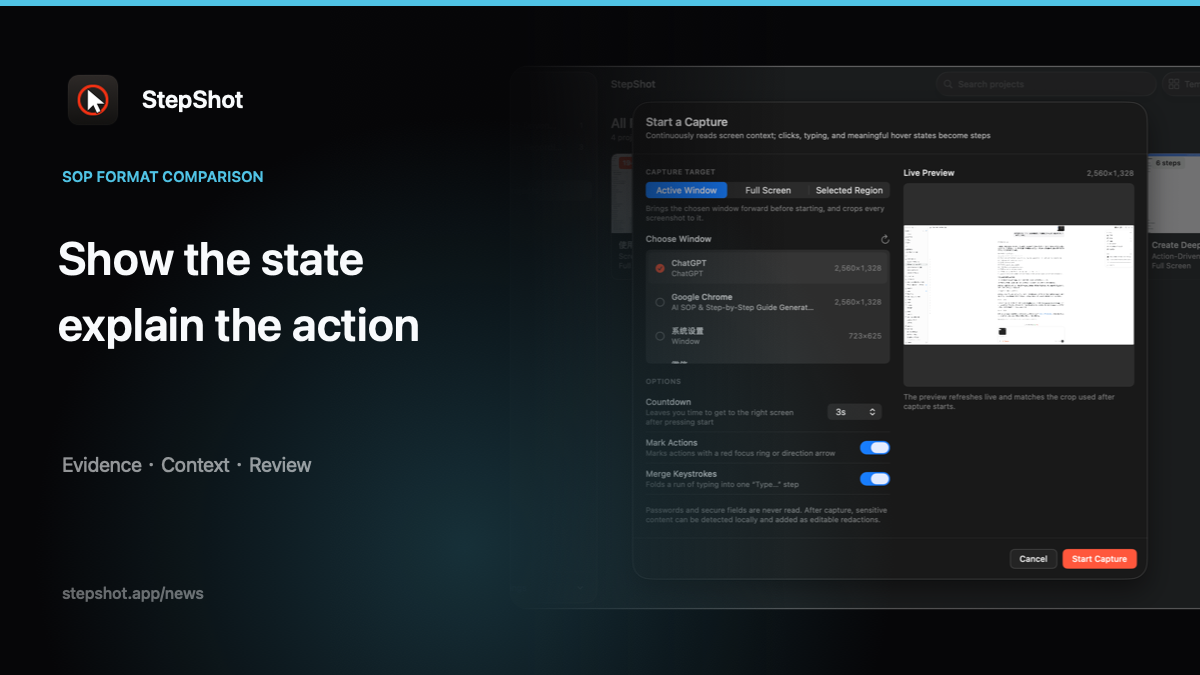
When documenting a software procedure, a screenshot and a sentence answer different questions. The image can show the interface state you observed. The sentence can explain the action, its purpose and the condition that makes it appropriate. A useful SOP chooses the evidence each step needs, rather than adding an image to every line or stripping out every screenshot to shorten the document.
Compare the reader's task, not just the page length
Begin with the person who will follow the procedure. Do they already know the application and need a reminder, or are they finding a particular control for the first time? A short text instruction may be enough for a familiar action with an unambiguous label. A screenshot becomes worth considering when the reader must distinguish several similar controls or confirm that the correct panel is open.
These are editorial choices to test with your own workflow. Neither format guarantees that a procedure is complete. A long illustrated guide can still omit a prerequisite, and a concise text guide can still leave the reader wondering what success looks like. Judge both against the same starting state, intended outcome and stopping conditions.
Use screenshots to show a state worth recognizing
Include an image when its visible detail helps resolve a specific question. Show which settings panel is open, which option is selected or which confirmation appears after an action. Keep enough context for the reader to recognize the location, and make the relevant detail readable at the size the finished guide will display.
A screenshot also has boundaries. It shows one observed state, not every account configuration or possible result. Do not imply that a sample value is mandatory unless the procedure requires it. Use safe demonstration data and review the image for unrelated personal or internal information before sharing. If the interface changes, check whether the old image still describes the current task.
Use text to explain decisions and exceptions
Write the action in words even when a screenshot accompanies it. Name the control, explain what the reader should do and state any prerequisite that matters. “Select the highlighted option” depends on the image remaining clear; a precise label gives the reader another way to identify the target. Avoid relying on color alone to communicate an essential choice.
Use a text note for context that is not itself an action. Explain why a setting is needed, what information the reader should prepare or when they should stop and ask for help. Describe alternate paths only when you have checked them. If a procedure depends on an unknown permission or configuration, mark that uncertainty instead of inventing an exception from one screenshot.
Combine the two where evidence matters most
For a mixed guide, begin with a clear instruction and add the image that makes it verifiable. Keep the image next to the step it supports. A checkpoint after a consequential action may be more useful than several near-identical screenshots of routine navigation. Consider a separate step when the action and its result need different views.
For example, an instruction might tell a reader to open a preferences panel, then verify that a named option is enabled. One image can establish the panel location; another may be needed if the result appears somewhere else. The author should make that distinction explicit. A captured click is evidence of an interaction, not proof that the intended outcome occurred.
Review both versions with the same acceptance questions
Before publishing, walk through the guide from its stated starting point. Can a reader identify the action without guessing? Can they recognize the expected result? Do notes explain conditions without introducing untested claims? Remove an image if it adds no useful evidence, and add one if text leaves an important interface state ambiguous.
StepShot for macOS 14 and later creates editable steps from captured workflows. You can revise titles and descriptions, insert notes and section headings, reorder steps and annotate screenshots. The capture guide explains how steps and images are collected, while the editor guide covers preparing the final sequence. Use those controls to build a deliberate mix of written instructions and visual evidence, then review the exact output your reader will receive.