
Step-by-step guide · Sep 23, 2026
How to document hover, drag and loading states step by step
Some of the most important moments in a software workflow do not produce a clean click. Treat transient states as evidence, then give readers an observable checkpoint.
Start with the state the reader must recognize
A hover menu may disappear when the pointer moves. A drag may change several rows without opening a new screen. A loading indicator may be the only sign that an action was accepted. These moments are difficult to document because the meaningful evidence often appears between obvious clicks.
Before recording, name the state that affects the next decision. Is the reader waiting for a menu to open, checking where an item landed or confirming that processing finished? Write down the visible signal and the expected result. This keeps the guide focused on what the reader needs to observe instead of turning every frame into a separate instruction.
Separate the action from its result
Use one instruction for the action and one checkpoint for the state that follows when both matter. For a hover menu, tell the reader where to place the pointer, then show the menu that should appear. For a drag, identify the item and destination, then show the final order. For a wait, state what starts the operation and what visible change proves it has completed.
A screenshot taken during motion is usually weak evidence. The pointer can hide a label, a dragged object can cover its destination and a spinner cannot show whether processing eventually succeeded. Prefer the first stable frame after the transition. Add an intermediate frame only when the path or temporary state changes what the reader should do.
Use recording evidence for moments a click misses
Continuous recording is useful when the important frame is not predictable in advance. Perform the workflow at a normal pace and pause briefly when the menu, destination or completion state is clearly visible. Afterward, inspect the surrounding footage and choose the frame that best proves the instruction. Do not assume the nearest frame is the clearest one.
Keep the instruction grounded in the recorded run. A long delay in one capture does not establish a universal wait time, and one successful drop does not prove every destination is valid. Say “wait until the status changes to Complete” rather than “wait five seconds” unless the timing is an actual product rule. If the result varies, document the observable branches you tested and leave unverified outcomes to the workflow owner.
Edit for a reader who was not there
Review the draft without replaying the whole recording. Can a reader identify the starting object, target and success signal from the document alone? Crop enough context to preserve orientation, but keep labels and nearby landmarks visible. Use an arrow or highlight only when it clarifies the intended target; annotations should not cover the state they are meant to explain.
Then test the guide from its stated starting point. Hover states should remain reachable, drag destinations should be unambiguous and loading checkpoints should tell the reader when to continue or stop. Check screenshots for private information before export. If a replacement frame is needed, review its crop, annotations and redaction again because those coordinates belong to the old image.
Where StepShot fits
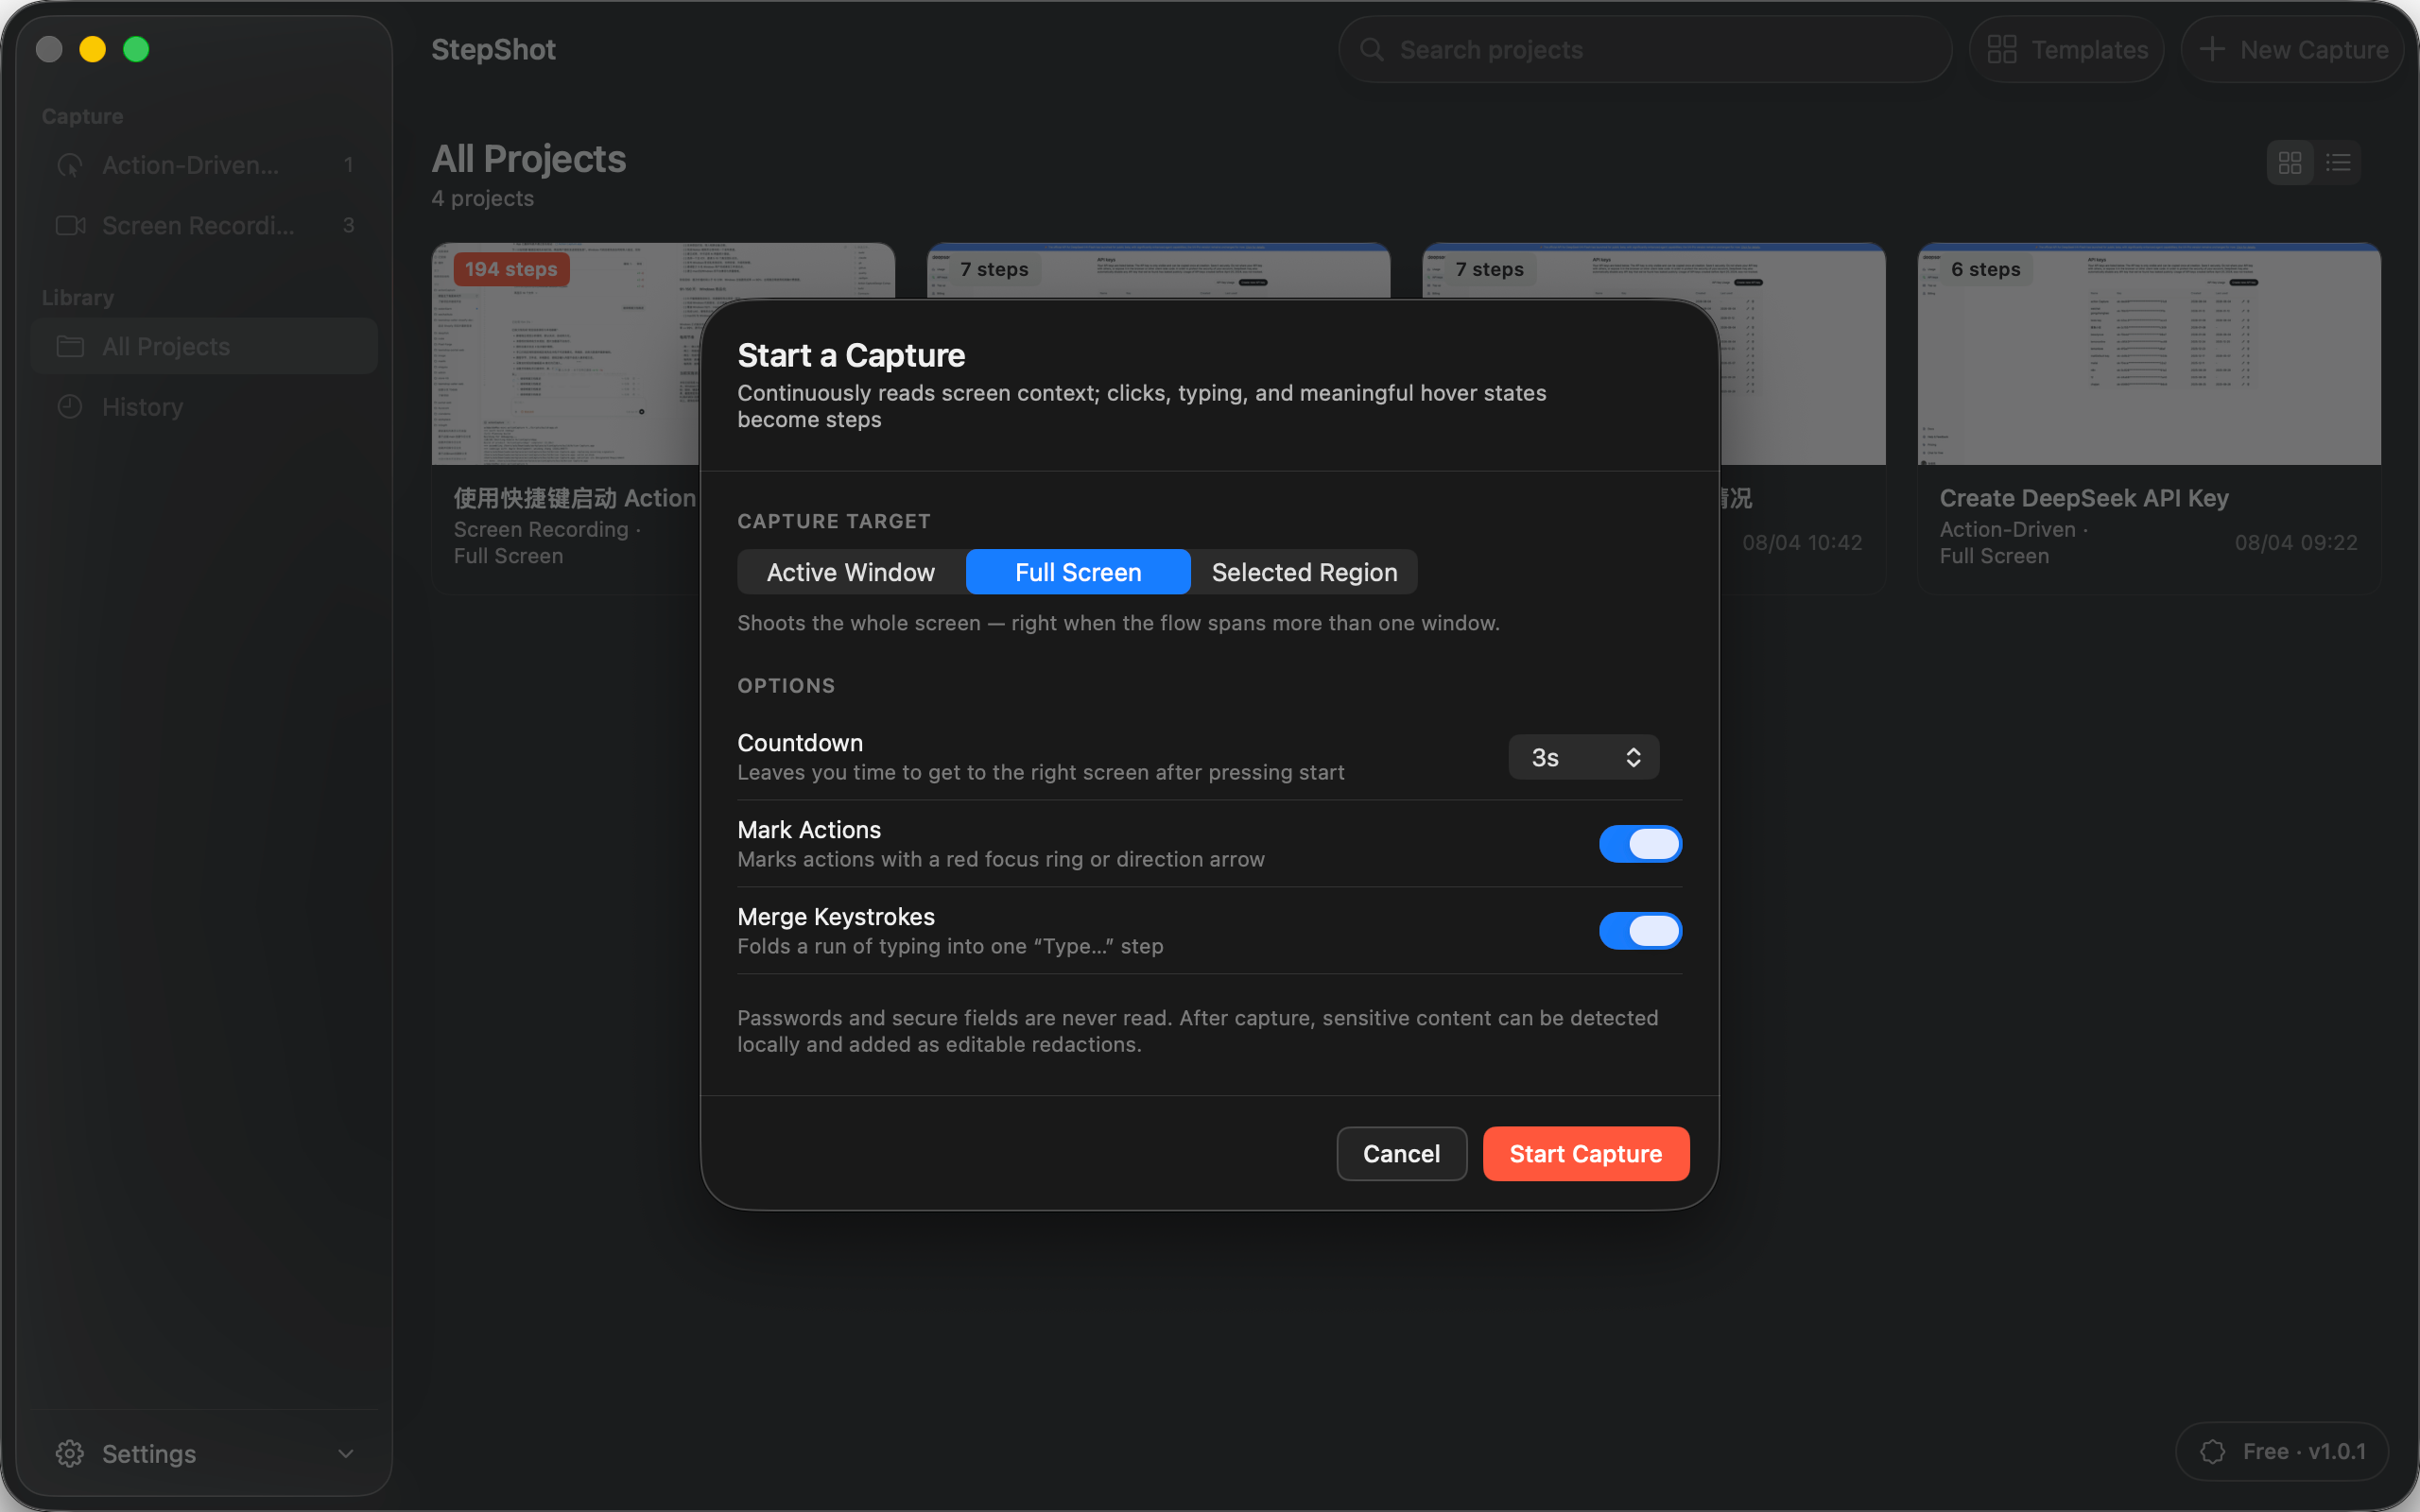
StepShot for macOS 14 and later supports action-driven and continuous-recording capture for a window, full screen or selected region. Recording mode uses cursor pauses as an additional step signal, which helps preserve hover menus, drag destinations and brief status changes. The editor links document steps to the recording timeline and can create a step from the current frame, replace a screenshot, split a step or merge it with the next one.
Capture and editing work locally, and the finished guide remains editable rather than becoming a fixed video. Read the capture guide for mode and target choices, use the editor guide for timeline repair, or compare the broader StepShot feature set. StepShot exports Markdown and self-contained HTML, with PDF available on paid licences; the Free tier can export the first 10 captured steps.